
BA Fine Art alumna Emilie Fitzgerald talks about her recent adventures digging and processing clay from her garden.
After graduating from the Art School in 2019, I moved in to my family home in East Sussex. Aptly named Old Pottery Cottage, it is located close to the site of the Dicker Pottery (active mid-19th to mid-20th century). Our whole area has very clay rich soil, which became evident from all the local flooding this past winter. Whether that is why Dicker Pottery chose to be based here, and whether or not they actually used clay from the ground, I haven’t been able to discover. However, the prospect of the clay that I’m digging up having a historical tie to local pottery as well as the ancient history of digging up clay certainly made the process more exciting.
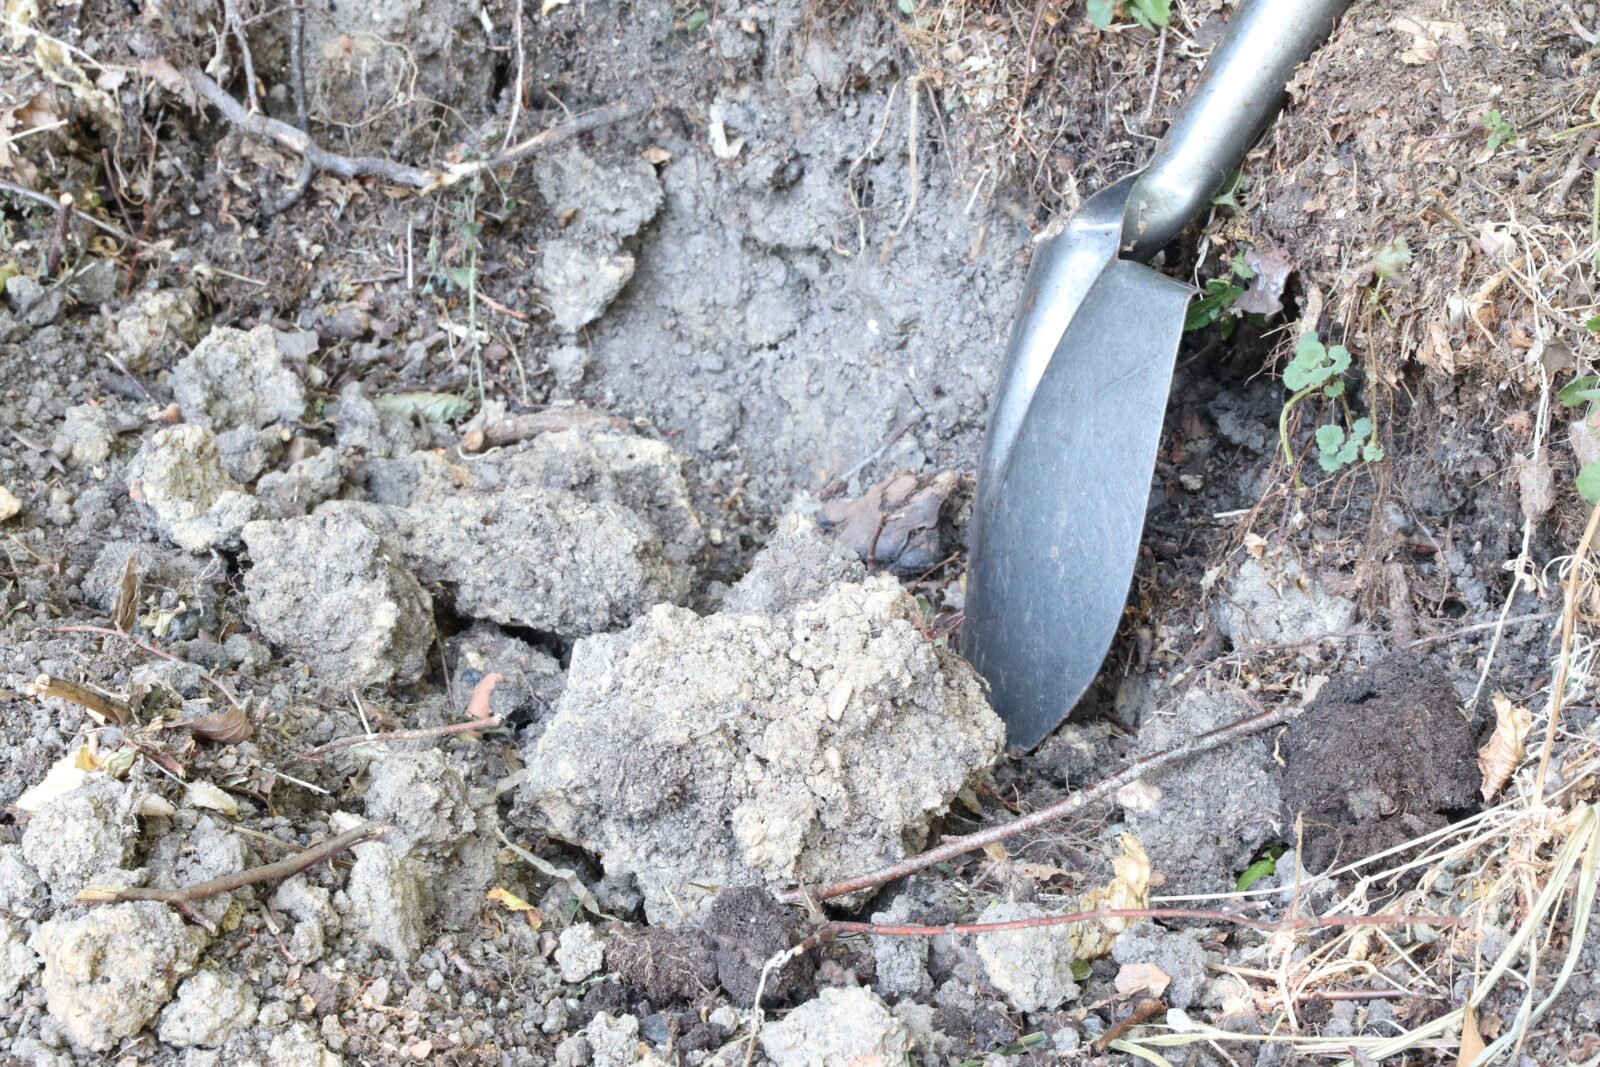
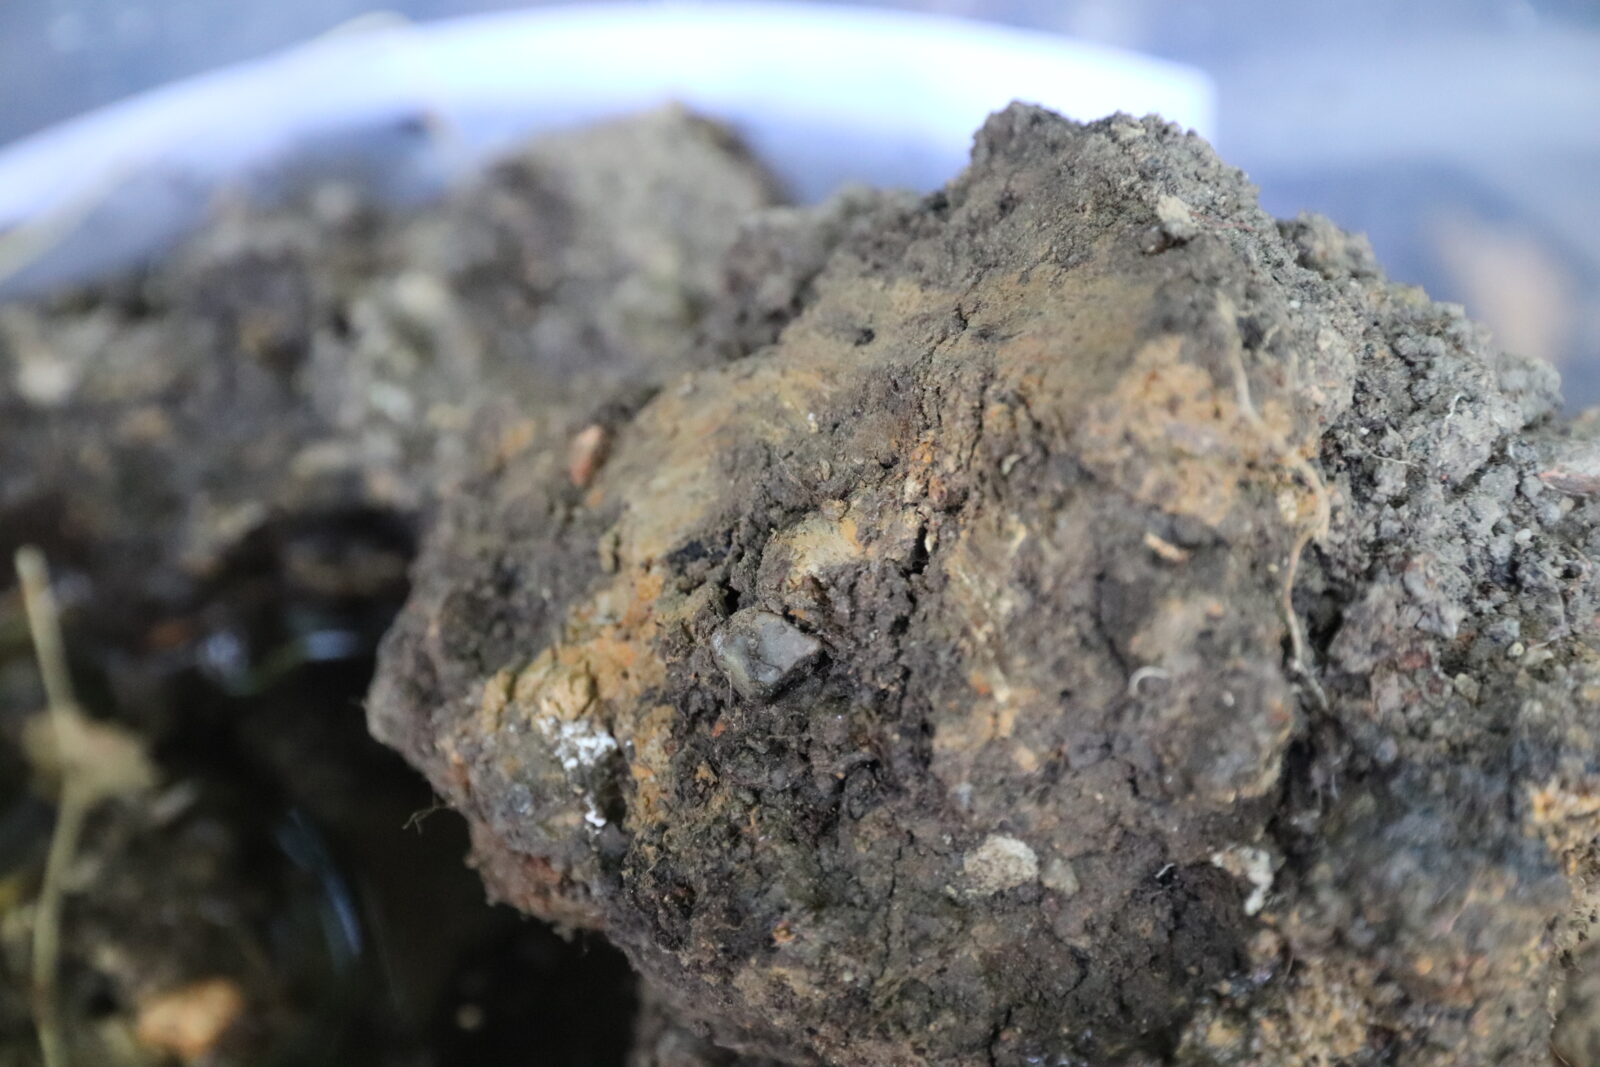
It’s quite easy to spot clay in the ground once you know what your local clay looks like, but you do have to dig quite far. Our local clay is a yellow ochre colour and is clumped together in big lumps. Most of the heap that I get my clay from had been dug up to make a trench for a pipe, so I don’t have to do too much digging to find it. I collected six lumps of clay, each roughly the size of a potato, and put them all in a bucket of water and made sure they were all covered. It takes a few days but the clay and dirt begins to separate; the dirt settles down at the bottom and the clay dissolves in to the water to make a slip. I was impatient and got out my paint mixing drill bit to mix it up and break up the clay faster. I’ve also successfully done this in the past using a hand mixer for baking.
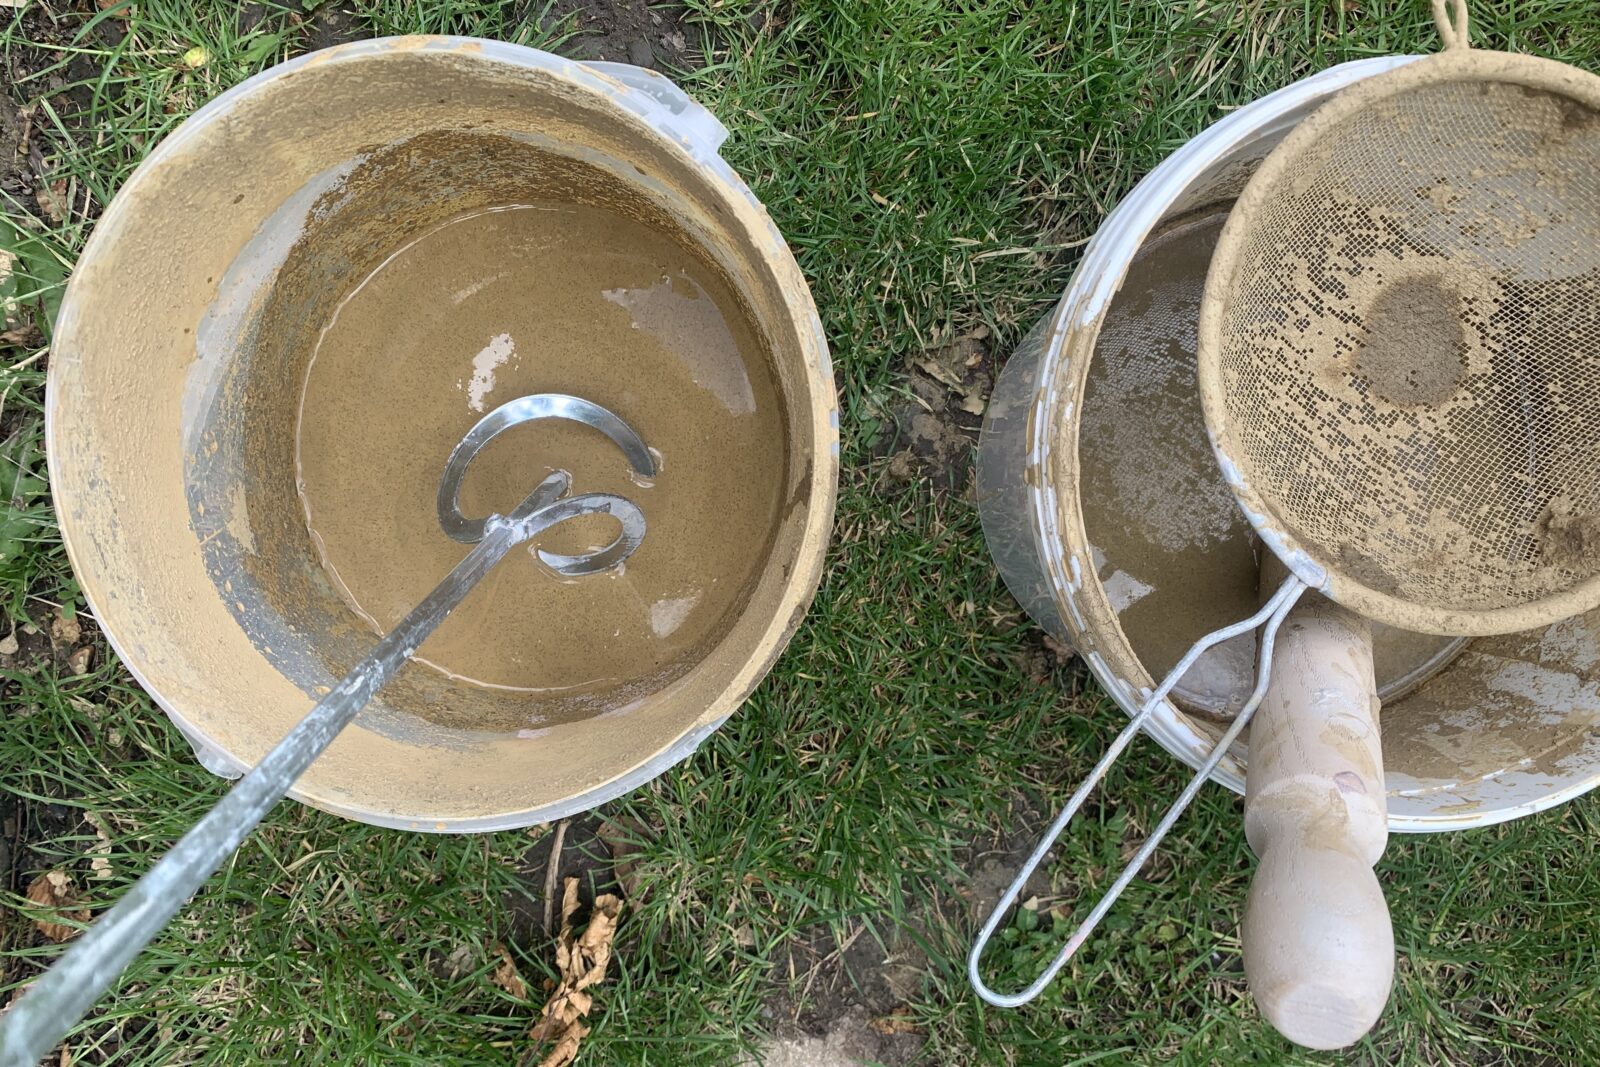
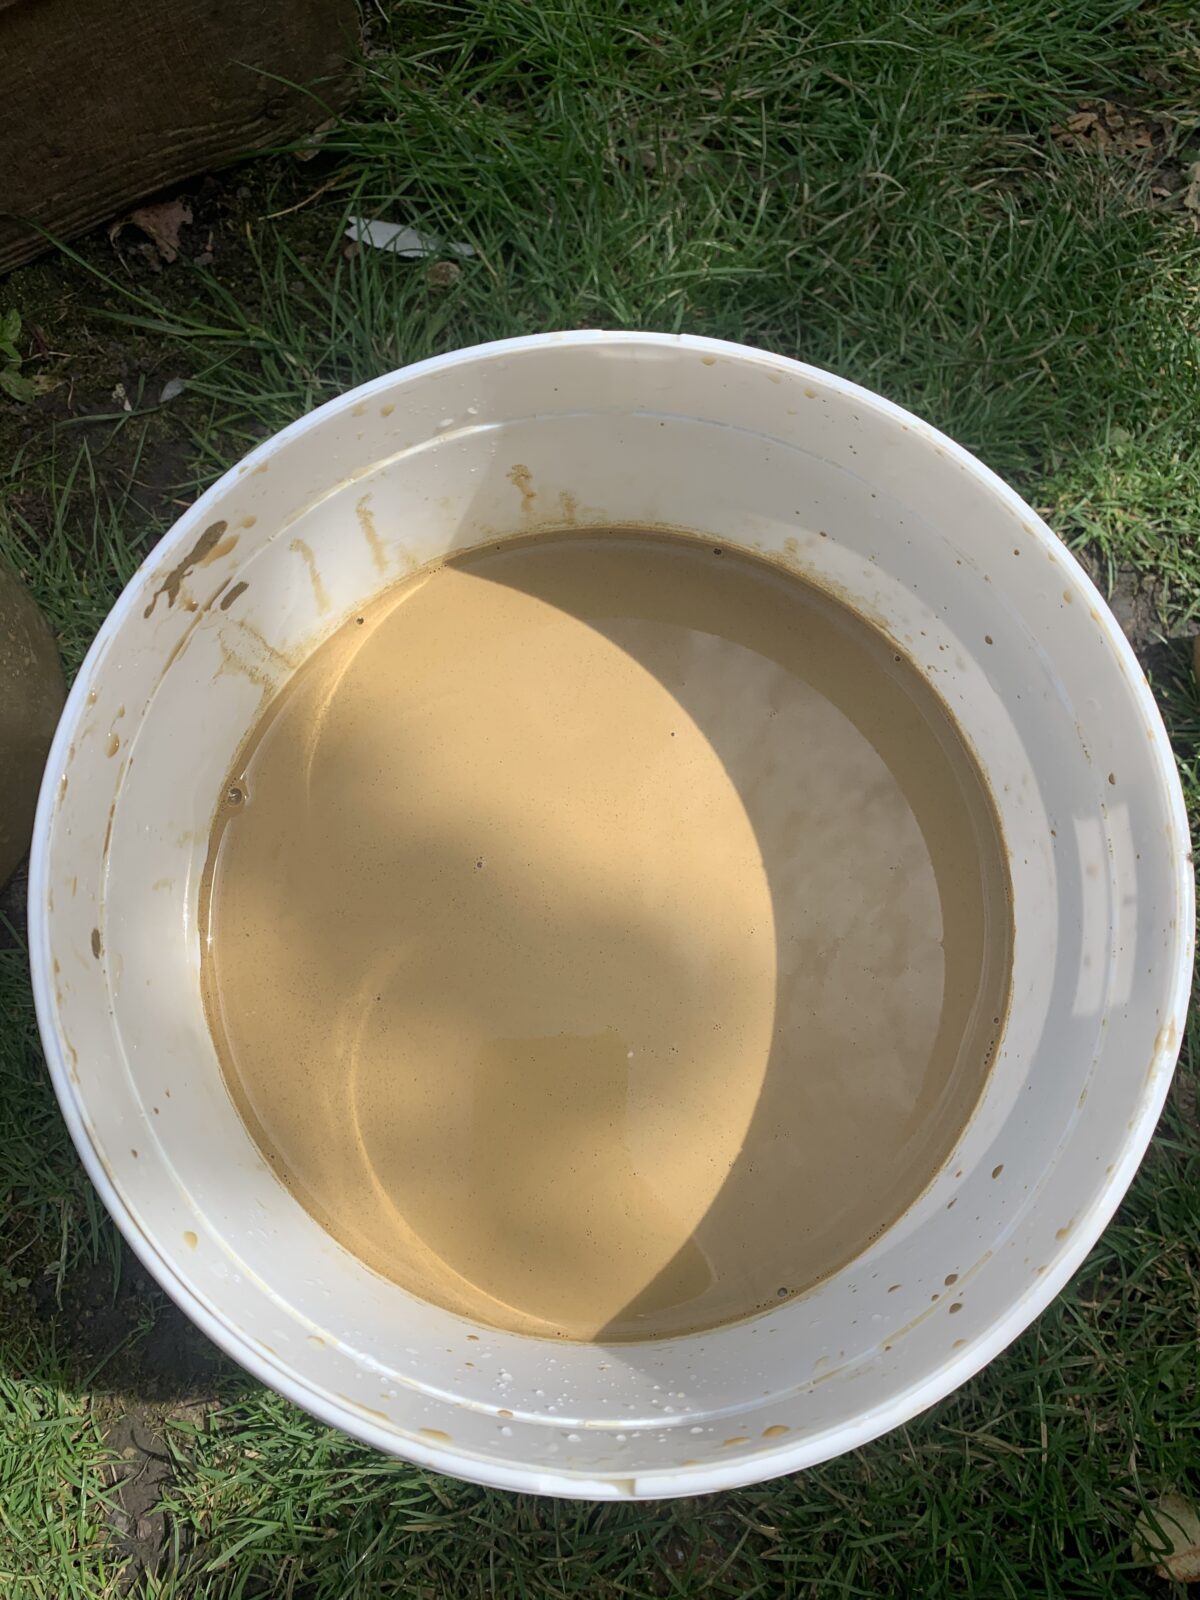
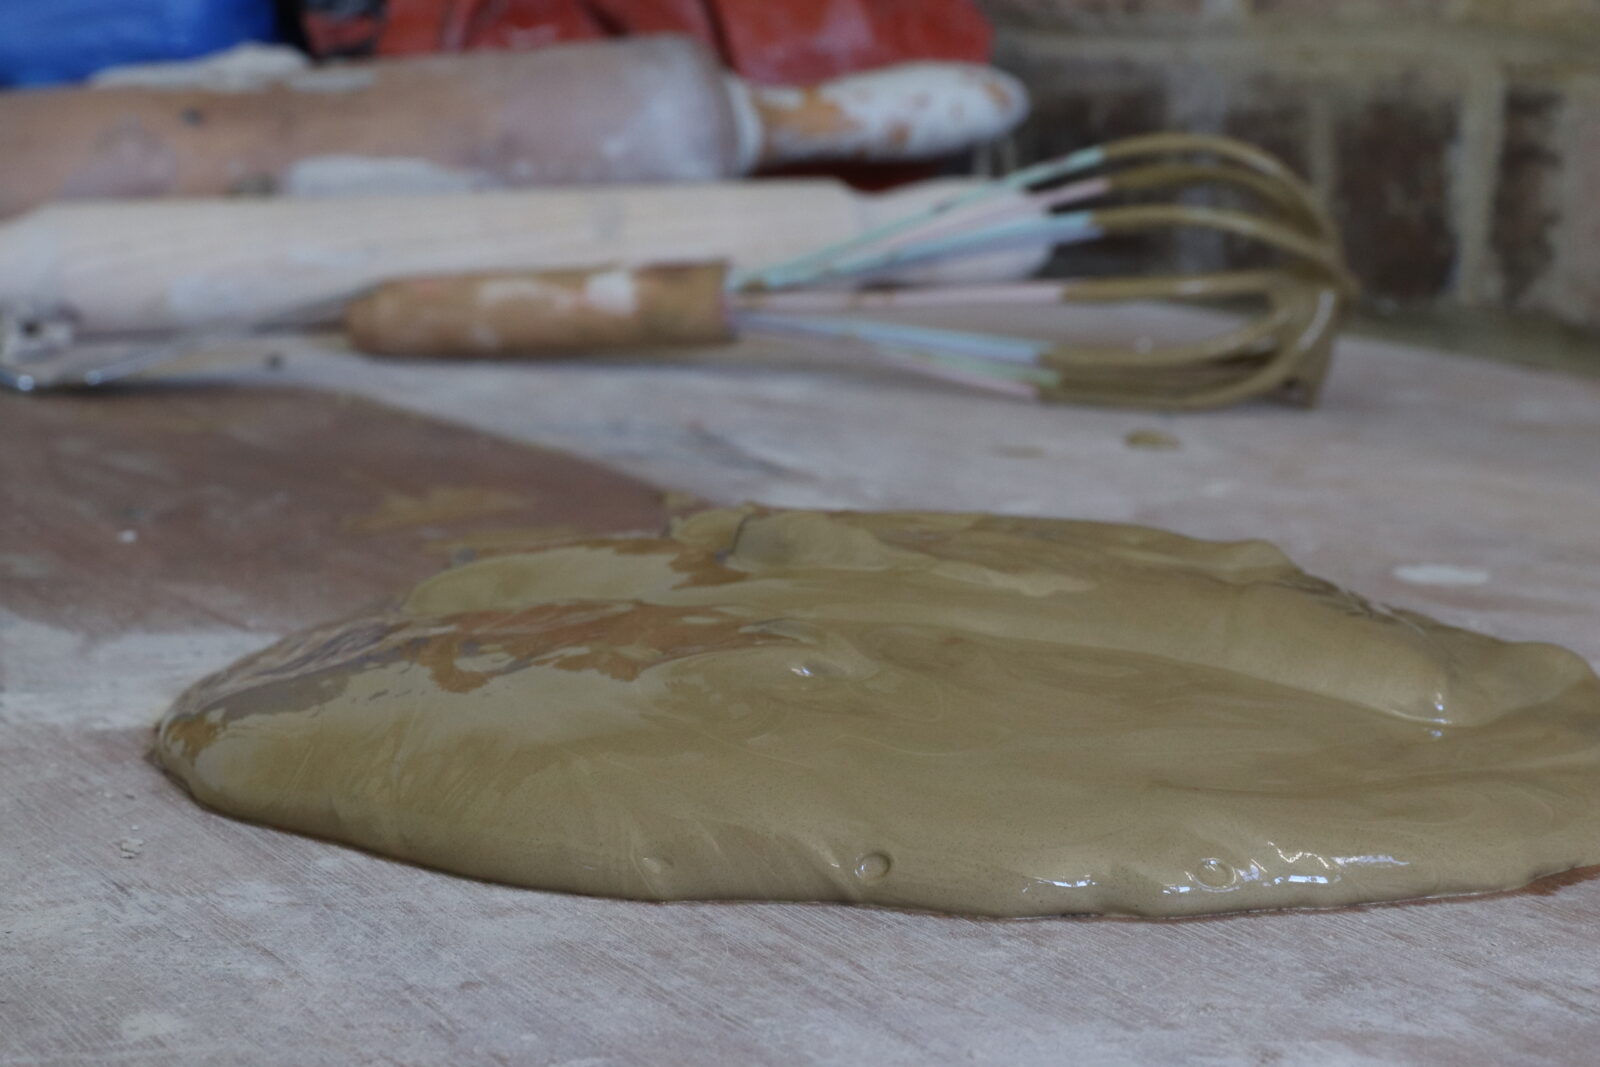
The next step is to sieve and sieve and sieve. I ran the clay through three sieves multiple times and cleaned the buckets at each stage. The first tool I used was just a normal kitchen sieve to remove all the rocks and leaves, also using a rolling pin to break up any remaining clumps of clay. The next one was an 80 mesh sieve used for straining glazes which I poured through twice. The last was 100 mesh which I used four times, cleaning out the brown sludge at the bottom between each pour. I could see after each time that the brown flecks of soil were getting less and less, and I continued until there were almost none – ending up with a five litre bucket of slip.
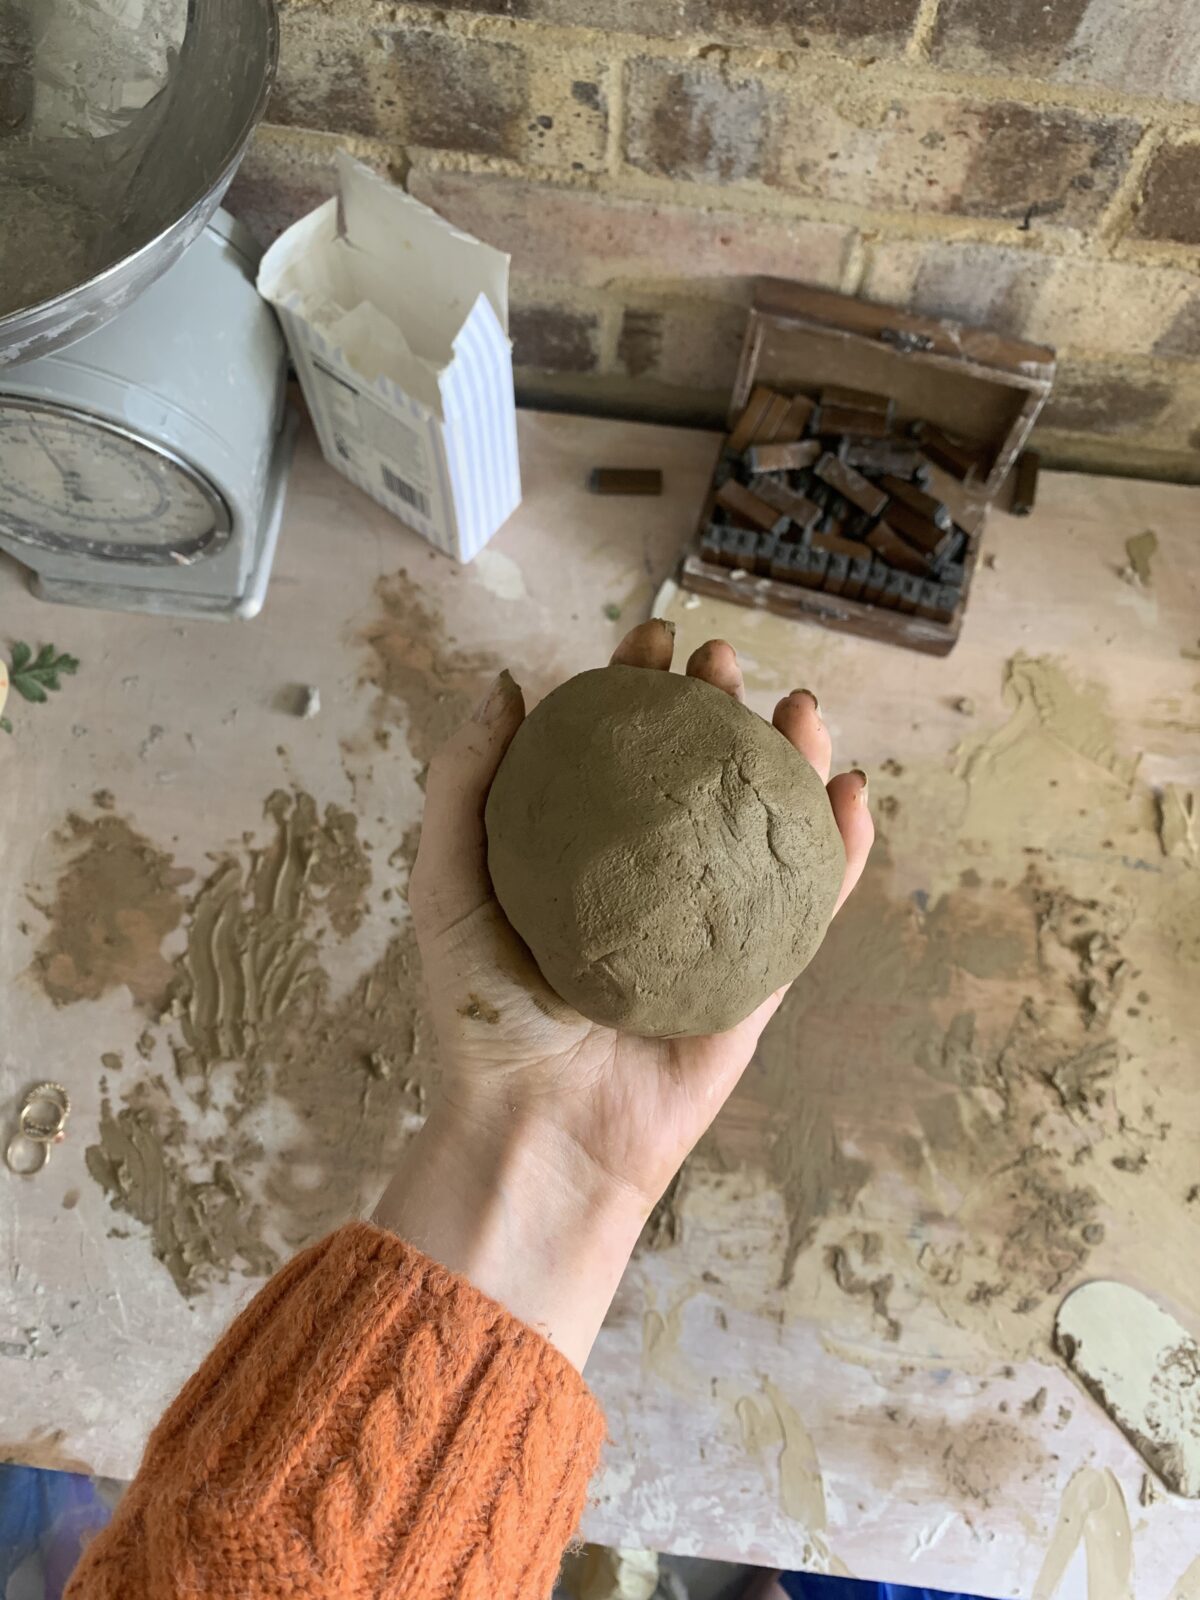
After this the clay was ready to be poured on to a board to start drying. I’ve been meaning to make a plaster wedging table but the lockdown put a stop to that, so I’ve been using a piece of plywood. As long as the surface is absorbent it works well. Every day I scraped up the clay and moved it around a bit and it took about five days before it was able to be rolled up in a ball. The timing of this process depends on the weather, temperature and humidity – I also did two kiln firings in this room during whilst I was drying the clay, which sped it up this time.
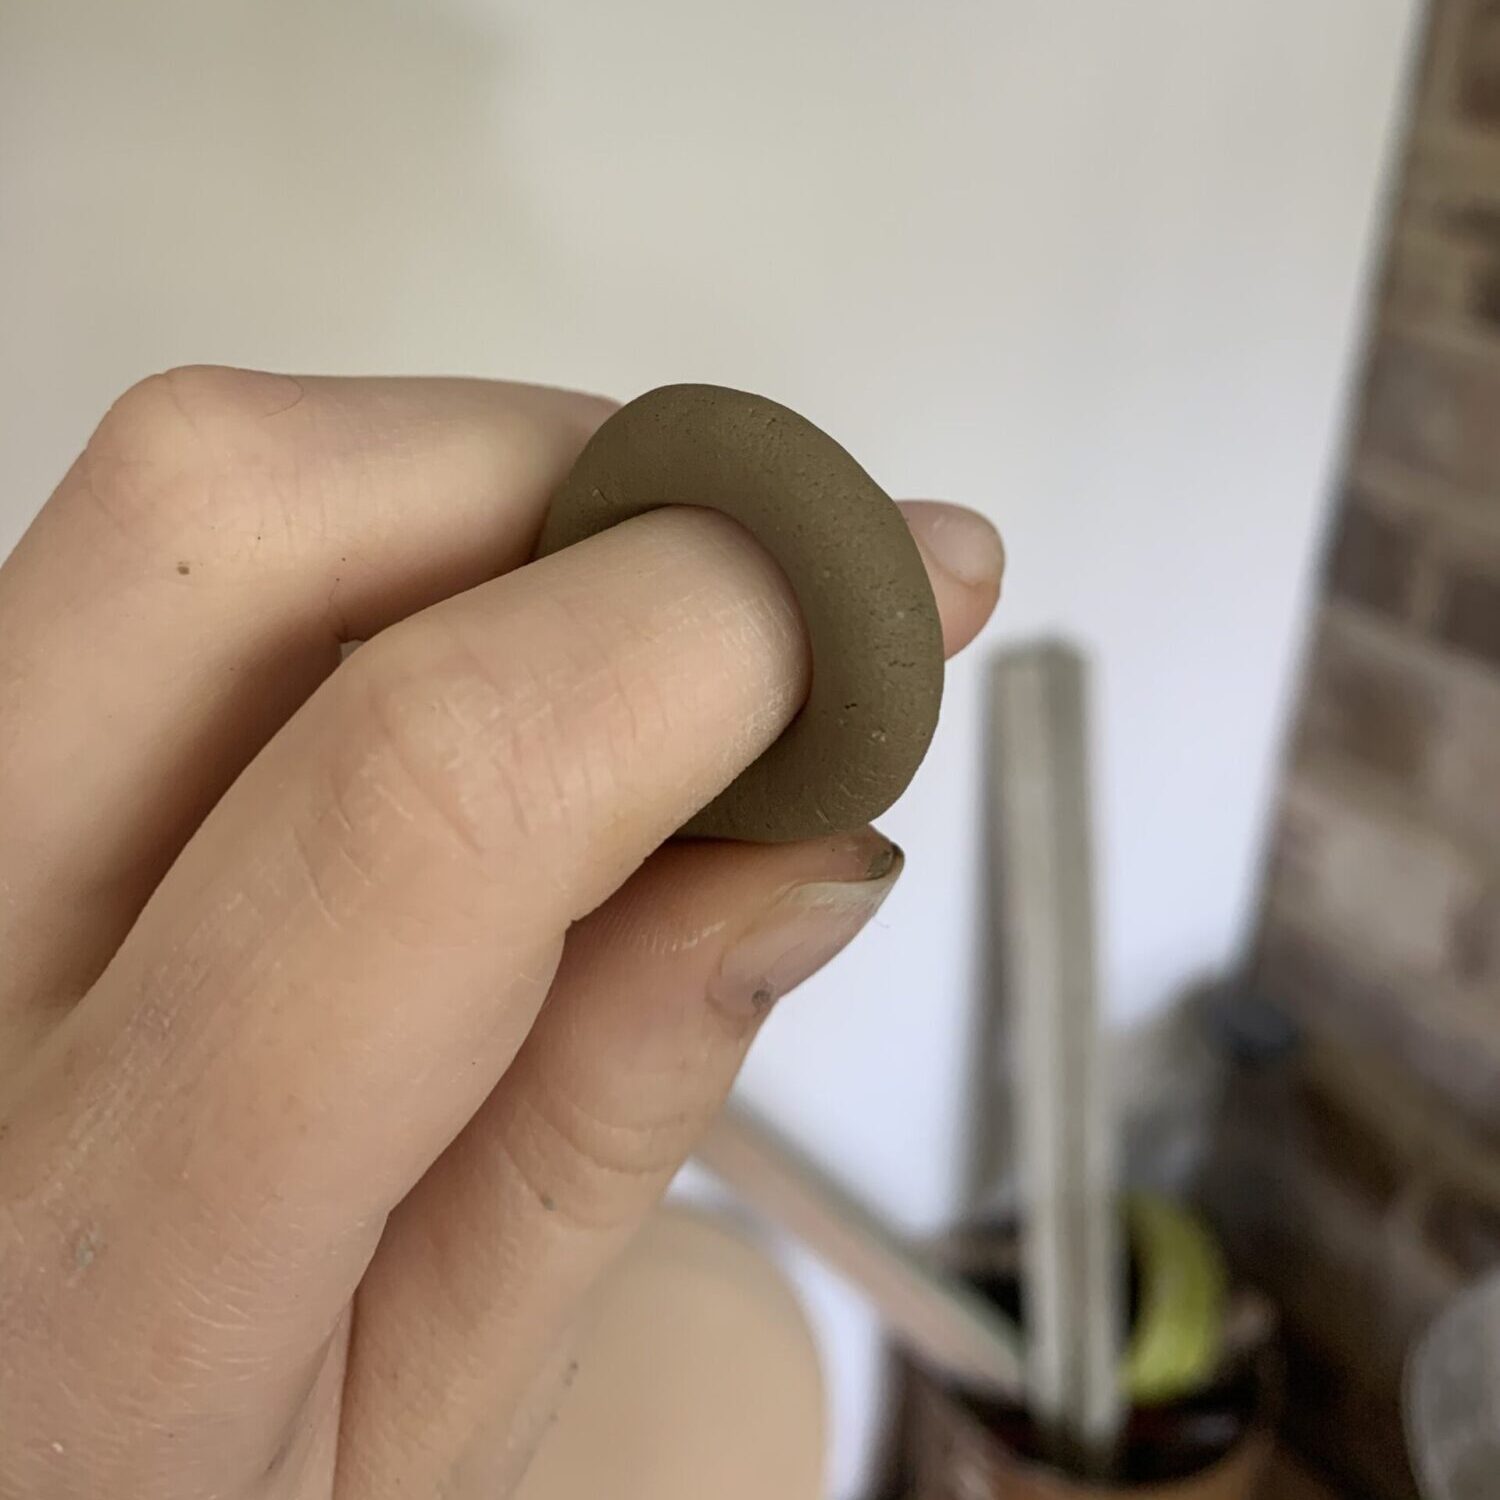
The total yield from this batch was around one pound of clay. The first time I processed it I rolled out a coil and wrapped it around my finger. This can help show the clay’s plasticity and how well it will throw; and so far I’ve found that it throws quite well. The ball I had was still very soft and I expected it to collapse but it held it’s shape surprisingly well. I ended up making a little planter; it seemed fitting that the garden clay would be used for plants. I haven’t fired this clay up to stoneware temperatures yet but I have done an earthenware firing and it stood up well and became a pale terracotta colour. It also works really well as a decorative slip.
It’s immensely satisfying to completely create something from start to finish. It’s almost impossible to do that with anything now. I’m primarily a painter and every material I use has a chain of people that have helped make it and often a large environmental footprint too. To be able to know exactly where something has come from and to inflict little to no damage to the environment is a welcome change. My next project is to dig an even bigger hole in the garden and try firing the clay in a pit!
Visit Emilie’s website www.emiliefitzgerald.com and follow her on Instagram www.instagram.com/emilie.fitzgerald.art to see more of her work, including her ceramics.